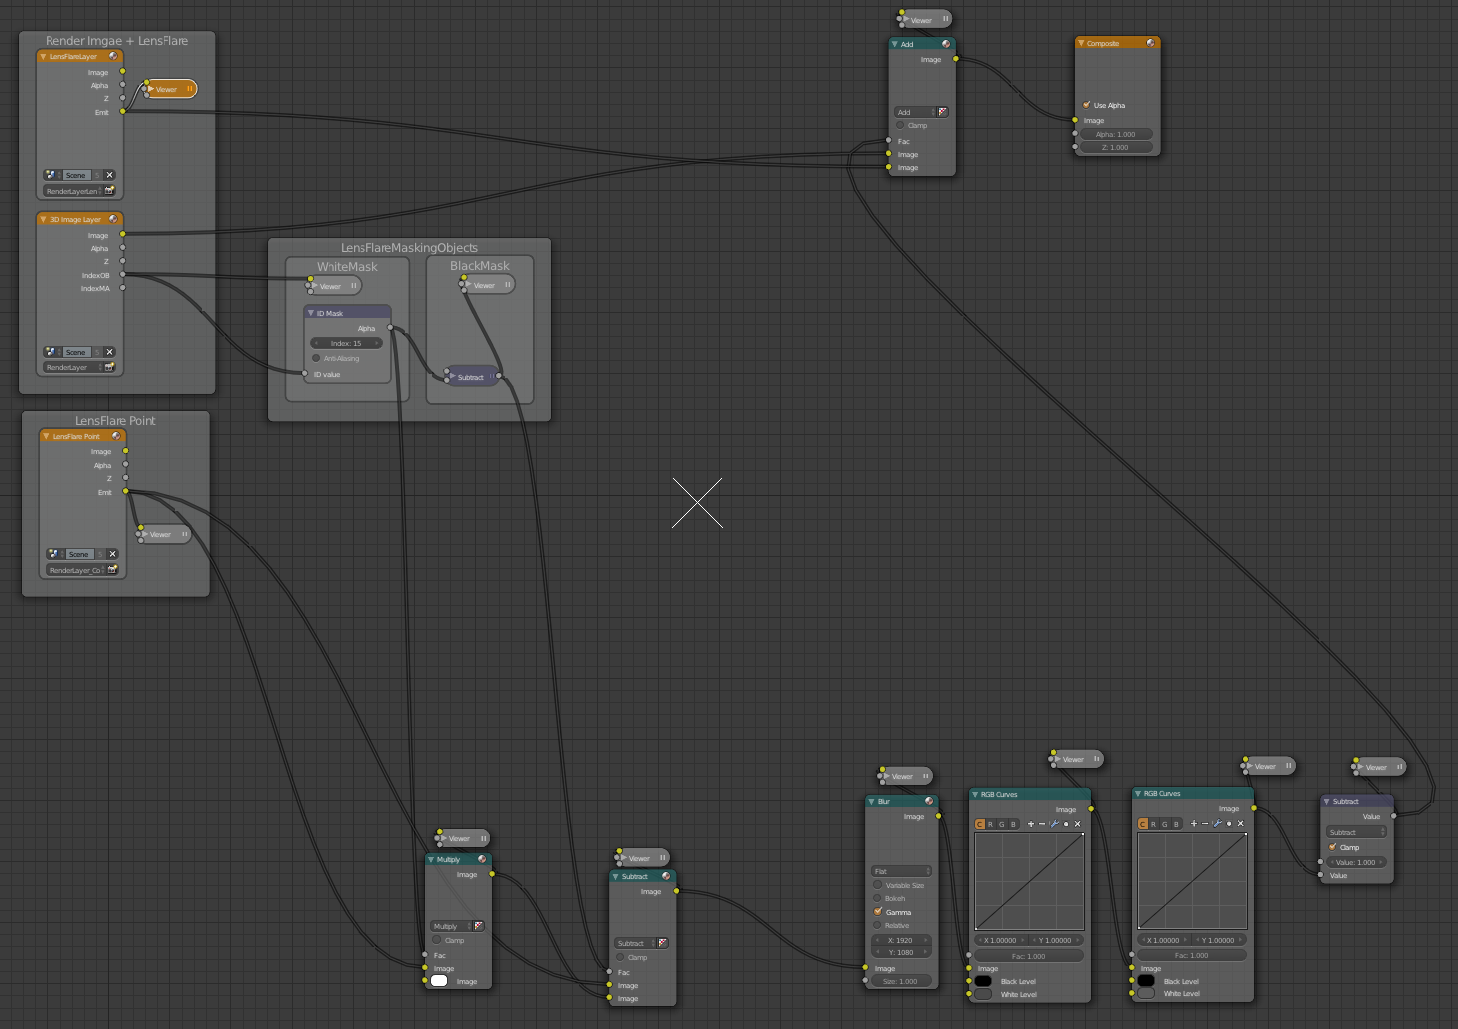
After 3 years in the making - I'm excited to announce the alpha release of the CutAway Shader - a free addon for Blender for artists, architects, scientists and engineers.
If you've ever wanted to cut away a cross section of a model, perform an architectural reveal or carry out some tricky special effects then this is the tool for you!
It works for still images and for animations.
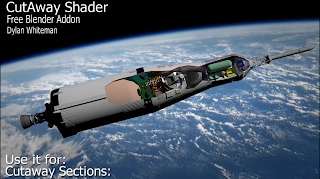 The CutAway Shader can be used for:
- Model cut aways.
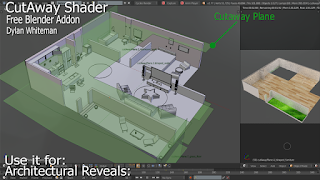
- Architectural reveals.
- Scientific and engineering images.
- Filming through walls (without damaging or re-dressing the set).
- Special effects (e.g. turning a winter scene into a summer scene).
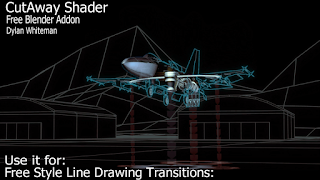
- Wire frame to solid model transitions.
- ... plus much more!
What does it do?
Checkout the CutAway Shader demo reel video on YouTube
Downloading the Addon
- Download Adddon(.zip)
(node_cutaway_shader.zip v1.2 alpha)
(This is an alpha release - so remember to save your work!)
Installation
Install the addon in Blender in the usual way.
or just do the following:
- File -> Preferences -> Addons Tab -> Install from file -> node_cutaway_shader.zip
- File -> Preferences -> File Tab -> Check "Auto Run Python Scripts"
Video Tutorials
- Installation Instructions and Very Quick Overview Video
How to download and install the addon - and a very quick intro on how to use the shader.
- Architectural Reveal with the CutAway Shader: (YouTube link)
Learn how to reveal the walls and furniture in a house - as seen in T.V design shows and documentaries.
This tutorial jumps right into it with a practical example - and assumes no knowledge of how to use the shader.
- CutAway Shader Controls: Overview Tutorial
All the CutAway Shader controls are covered - showing what situations they're useful for and how to use them. It is assumed that the shader has already been installed.
This tutorial is really a compilation of 11 short videos (2 min to 10 min each) covering:
- A quick overview of the controls.
- Setting up the CutAway Shader in your scene.
- Adding cutaway planes.
- Solidify and Rim Fill options.
- Cutaway Shape: Rectangular and Circular.
- Cutaway Shape: From Gray Scale Image.
- Cutaway Shape: By editing the shape of the cutaway plane mesh.
- Origin Control Buttons: To help with plane scaling and positioning.
- Parenting Controls: Easily duplicate parent shaders to selected objects.
- Auto and Manual Refresh: Viewport speedups.
- Remove All CutAway Shaders button.
Each 'mini' tutorial has a heading -- so scroll though the video to get to the desired section, or click on the quick links on the YouTube page.
... More tutorials to follow
- Installation Instructions and Very Quick Overview Video
How to download and install the addon - and a very quick intro on how to use the shader.
- Architectural Reveal with the CutAway Shader: (YouTube link)
Learn how to reveal the walls and furniture in a house - as seen in T.V design shows and documentaries.
This tutorial jumps right into it with a practical example - and assumes no knowledge of how to use the shader.
- CutAway Shader Controls: Overview Tutorial
All the CutAway Shader controls are covered - showing what situations they're useful for and how to use them. It is assumed that the shader has already been installed.
This tutorial is really a compilation of 11 short videos (2 min to 10 min each) covering:
- A quick overview of the controls.
- Setting up the CutAway Shader in your scene.
- Adding cutaway planes.
- Solidify and Rim Fill options.
- Cutaway Shape: Rectangular and Circular.
- Cutaway Shape: From Gray Scale Image.
- Cutaway Shape: By editing the shape of the cutaway plane mesh.
- Origin Control Buttons: To help with plane scaling and positioning.
- Parenting Controls: Easily duplicate parent shaders to selected objects.
- Auto and Manual Refresh: Viewport speedups.
- Remove All CutAway Shaders button.
Each 'mini' tutorial has a heading -- so scroll though the video to get to the desired section, or click on the quick links on the YouTube page.
How does it work? Executive summary
- The Cutaway Shader is added as a material node to an existing Cycles material (or materials)
- Objects in front of the 'green' side of the cutaway plane (that use the assigned materials) will be made fully or partially transparent.
- A number of helpful controls are available to:
- Add the Cutaway Shader to multiple materials at once (parenting).
- Draw a rim at the cutaway cross section.
- Fadeout the cutaway edge
- Cutaway arbitrary shapes based on gray scale images, or the shape of the cutaway plane.
... plus many more features. (Checkout this tutorial)
Some background info
History:
After finishing the Open Shader language (OSL) Cycles Lens Flare shader a few years ago, I began experimenting with a few more OSL shader designs. The CutAway shader looked like it would be the quickest to finish (!!!) - so I continued with it.
I noticed with the previous Lens Flare shader release that many people did not know how to add the Blender drivers - these are needed to let the Lens Flare shader know the position of the sun (an 'Empty') in the scene. A custom 'py-node' in front of the Lens Flare OSL shader could have automated this task. (A Blender py-node is a node that runs Python custom code)
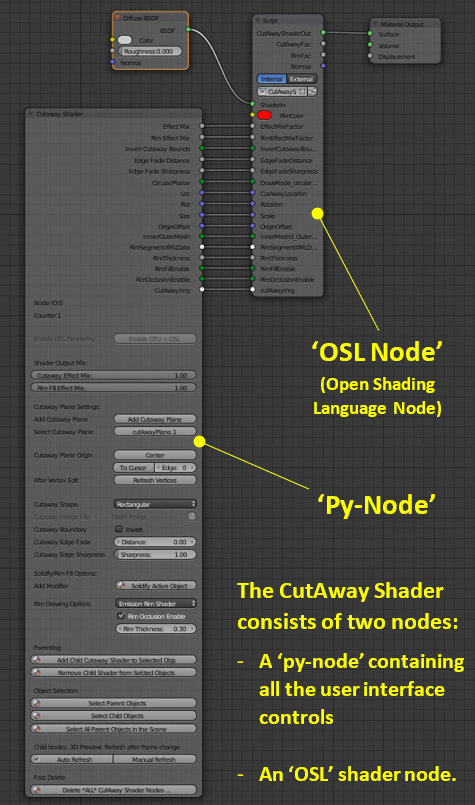 For the CutAway shader release I decided to include a custom py-node to help automate many useful tasks (see figure to the right)
For example, the py-node adds all required drivers automatically. These let the CutAway shader know:
- The position of the cutaway plane.
- The rotation of the cutaway plane.
The custom py-node also:
- Colours the cutaway plane in the view port (red on one side and green on the other)
- Provides parenting and duplication functions.
... and a lot of other things too.
This all took quite a lot of time!
Even so, the bulk of the code was finished over two years ago - however, this was followed by the production of 12 demonstration video scenes and several tutorials.
As I am kept very busy during the day project managing this (and like most people have a very busy home life too) this project has taken approximately 3 years to get to the alpha release stage.
 For the CutAway shader release I decided to include a custom py-node to help automate many useful tasks (see figure to the right)
For example, the py-node adds all required drivers automatically. These let the CutAway shader know:
- The position of the cutaway plane.
- The rotation of the cutaway plane.
- Colours the cutaway plane in the view port (red on one side and green on the other)
- Provides parenting and duplication functions.
Even so, the bulk of the code was finished over two years ago - however, this was followed by the production of 12 demonstration video scenes and several tutorials.
As I am kept very busy during the day project managing this (and like most people have a very busy home life too) this project has taken approximately 3 years to get to the alpha release stage.
Special Effects Use
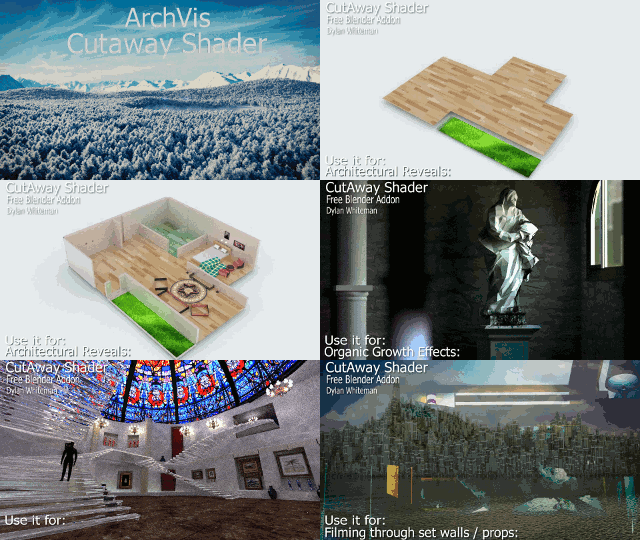 Initially I imagined the CutAway shader performing the obvious tasks - Model cross section cutaways, geological cutaways and architectural reveals. But I soon became excited about other uses the shader could be put to.
Special effect Revels: The a shader can easily hide materials on one side of the 'cutaway plane' and (optionally) reveal materials on the other.
This type of effect can be seen in the demonstration video in the following scenes:
- Winter Forest -> Summer Forrest scene.
- Ivy growing on statue scene.
- Magic stairway reveal scene.
- Island forest -> Island city scene.
- Filming through set walls (see full video)
These 'special effect' examples can easily be extended to many additional scenarios:
- Revealing car tire tracks in the snow, or in the desert, or on a road.
- Casting shadows in laser lights shining on a mist.
- Animated characters 'morphing' from one costume set to another (super hero style)
- Cat scan style cutaway sections.
- Easily Cutting holes to let the light into a scene (without affecting the mesh or U.V wrappings)
- ... etc
Another interesting use for the CutAway Shader is related to the 3D pipeline work flow. The shader makes it easy to 'punch' any arbitrary shaped hole through scene elements without affecting the base mesh or U.V mapping. If a client wants to move or add an window to a scene at the last minute - none of the existing mesh or U.V work has to be re-worked. The shader will create the new hole with the desired shape and additional geometry (or existing windows etc) can be moved into place.
If the pipeline involves mesh assets the are frozen (or scene dressings that are locked) then the shader offers a new method of hiding (cutting away) assets that are blocking the camera view. This can be achieved without actually moving assets or redressing the scene.
This concept extends to 'filming' through set walls - without affecting a set's internal lighting setup, as the shader can be configured to only cutaway 'camera rays'. (i.e. we can look through 'solid' walls without light leaking into or out of the set!)
Filming through sets can be useful for when the desired framing and depth of field results in a lens size that forces the camera to be placed outside the walls of a small set (e.g. a small bedroom, or small space capsule).
So, the possibilities for the Cutaway Shader are surprisingly large for such a simple concept!
Give it a try!
Let me know what you think in the comments below - or e.mail: iReboot42 at gmail dot com.
Please note: Initially I imagined the CutAway shader performing the obvious tasks - Model cross section cutaways, geological cutaways and architectural reveals. But I soon became excited about other uses the shader could be put to.
This type of effect can be seen in the demonstration video in the following scenes:
- Winter Forest -> Summer Forrest scene.
- Ivy growing on statue scene.
- Magic stairway reveal scene.
- Island forest -> Island city scene.
- Filming through set walls (see full video)
- Revealing car tire tracks in the snow, or in the desert, or on a road.
- Casting shadows in laser lights shining on a mist.
- Animated characters 'morphing' from one costume set to another (super hero style)
- Cat scan style cutaway sections.
- Easily Cutting holes to let the light into a scene (without affecting the mesh or U.V wrappings)
- ... etc
Another interesting use for the CutAway Shader is related to the 3D pipeline work flow. The shader makes it easy to 'punch' any arbitrary shaped hole through scene elements without affecting the base mesh or U.V mapping. If a client wants to move or add an window to a scene at the last minute - none of the existing mesh or U.V work has to be re-worked. The shader will create the new hole with the desired shape and additional geometry (or existing windows etc) can be moved into place.
If the pipeline involves mesh assets the are frozen (or scene dressings that are locked) then the shader offers a new method of hiding (cutting away) assets that are blocking the camera view. This can be achieved without actually moving assets or redressing the scene.
This concept extends to 'filming' through set walls - without affecting a set's internal lighting setup, as the shader can be configured to only cutaway 'camera rays'. (i.e. we can look through 'solid' walls without light leaking into or out of the set!)
Filming through sets can be useful for when the desired framing and depth of field results in a lens size that forces the camera to be placed outside the walls of a small set (e.g. a small bedroom, or small space capsule).
Filming through sets can be useful for when the desired framing and depth of field results in a lens size that forces the camera to be placed outside the walls of a small set (e.g. a small bedroom, or small space capsule).
So, the possibilities for the Cutaway Shader are surprisingly large for such a simple concept!
Give it a try!
Let me know what you think in the comments below - or e.mail: iReboot42 at gmail dot com.
- This is an alpha release - so please save your work first.
- There are a few 'non-standard' features related to the parenting controls of the shader, These allow the CutAway Shader node to be automatically replicated among selected objects in the scene. Child copies of the parent node are added to the material nodes of selected objects (i.e this feature will alter material nodes in your scene).
Future Work
There are many features that could be added to the shader - along with some optimisations. I would like to look at micro displacement of shaded points in the drawn 'rim' to improve this effect.
Cheers
Dylan
Cheers
Dylan


